
Table of Contents
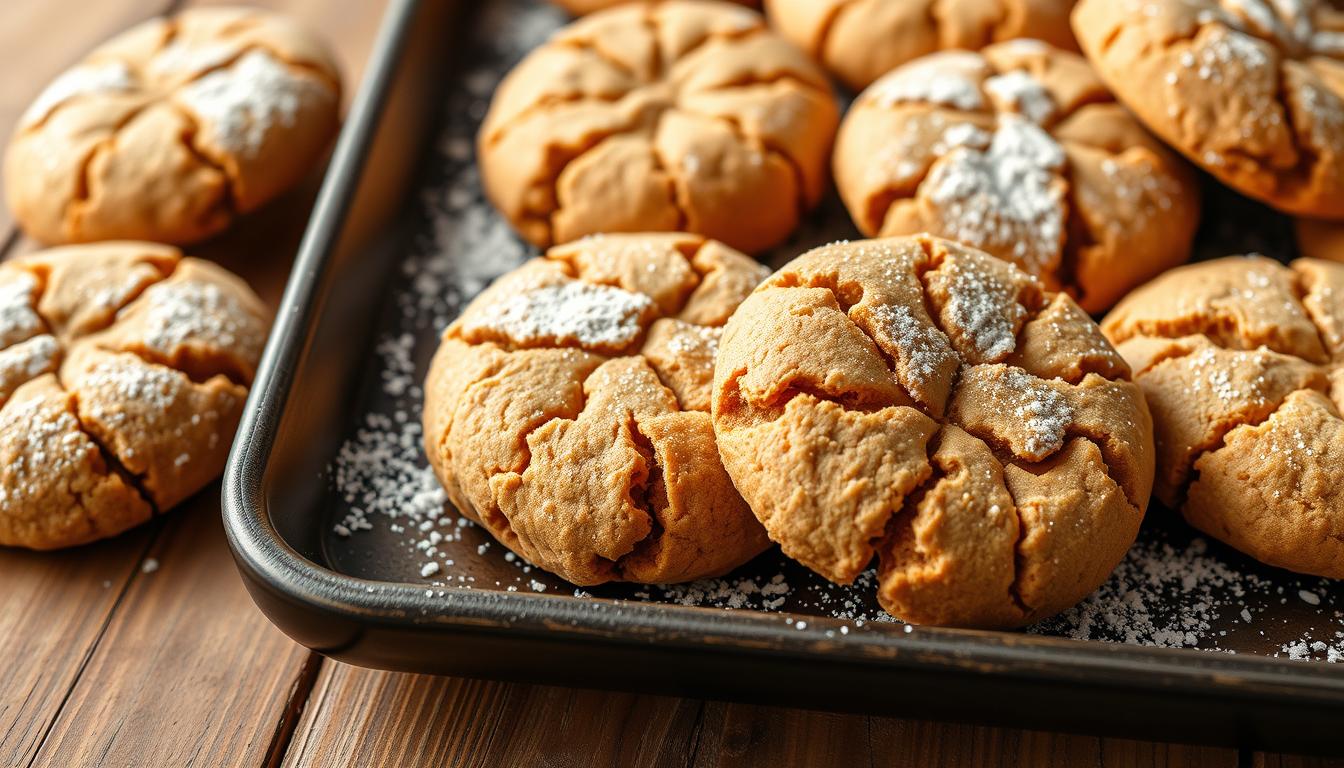
Every home baker knows the magic of a perfect cookie. Imagine making delectable gluten-free peanut butter cookies that are easy and delicious. These cookies will make your baking experience better, showing that gluten-free treats can be simple and tasty.
With just 15 minutes of prep, you can make a batch of these amazing gluten-free peanut butter cookies. Everyone will want to know your secret. This recipe is perfect for both seasoned bakers and kitchen newbies, leading to cookie perfection.
Key Takeaways
- Preparation takes only 15 minutes
- Requires just 4-5 simple ingredients
- Perfect for gluten-sensitive individuals
- No complicated baking skills needed
- Delicious and nutritious cookie option
Understanding Gluten-Free Peanut Butter Cookies
Gluten-free cookies have changed the baking world. They offer tasty options for those with dietary needs and health enthusiasts. These treats are perfect for anyone looking for allergen-free desserts that are also delicious.
What Makes These Cookies Special
Peanut butter cookies without gluten are special for several reasons:
- Made with alternative flour like almond flour, which reduces carbs by up to 75%
- Adaptable to multiple dietary lifestyles including keto, paleo, vegan, and gluten-free
- Can incorporate natural sweeteners to minimize added sugars
Benefits of Gluten-Free Baking
Gluten-free baking brings many health and enjoyment benefits:
- Supports individuals with celiac disease or gluten sensitivities
- Reduces digestive discomfort associated with traditional wheat flours
- Enables creative recipe modifications
Why These Cookies Are Perfect for Everyone
Allergen-free desserts are great for everyone, not just those with dietary restrictions. These cookies offer a delightful experience with about 30 flavor options to try.
“Baking is about sharing love, and gluten-free cookies ensure everyone can participate in that joy.”
Whether you’re on a specific diet or just want a tasty treat, these peanut butter cookies are a hit. They offer amazing flavor and nutritional flexibility.
Essential Ingredients for Perfect Results
Making tasty gluten-free peanut butter treats begins with picking the right ingredients. These recipes need careful selection to get the right taste and texture.
The classic flourless peanut butter cookie recipe needs precision. Here are the key ingredients you’ll need:
- Creamy Peanut Butter: Choose a “no stir” variety like Jiff or Skippy for best results
- Granulated Sugar: Approximately 10 tablespoons for optimal texture
- Large Egg: Typically weighing around 50g
- Vanilla Extract: For enhanced flavor
- Sea Salt: A pinch to balance sweetness
- Baking Powder: ⅛ teaspoon to improve structural integrity
When preparing your peanut butter treats, consider these ingredient insights:
“The quality of your ingredients directly impacts the success of your gluten-free cookies.”
For healthier baking, you can make simple swaps. Try monkfruit as a sugar substitute for a low-carb version. Each cookie has about 200 calories and 3 grams of protein.
| Ingredient | Quantity | Purpose |
|---|---|---|
| Peanut Butter | 1 cup | Primary flavor and binding agent |
| Sugar | 10 tablespoons | Sweetness and texture |
| Egg | 1 large | Binding and structure |
Pro tip: Measure ingredients precisely to achieve consistent, delectable peanut butter treats every time!
Kitchen Tools and Equipment Needed
Preparing gluten-sensitive snacks needs the right kitchen tools. Having your equipment ready before you start makes baking smooth and fun. It’s important to have everything organized and ready to go.
Essential Baking Tools
Your gluten-free peanut butter cookie journey begins with the right tools. Here are the must-haves:
- Large mixing bowl
- Sturdy spatula
- Baking sheet
- Parchment paper
- Cooling rack
Precision Measuring Equipment
Accuracy is key when making gluten-sensitive snacks. Get quality measuring tools:
- Measuring cups (dry and liquid)
- Measuring spoons
- Digital kitchen scale
Optional Specialty Baking Items
While not essential, these tools can make baking better:
- Cookie scoop
- Silicone baking mat
- Kitchen stand mixer
Pro tip: Use dedicated gluten-free baking tools to prevent cross-contamination and ensure safe gluten-sensitive snacks.
By preparing your kitchen with these tools, you’re ready for gluten-free baking success. Each tool is vital for making delicious, perfectly textured peanut butter cookies that everyone can enjoy.
Choosing the Right Peanut Butter
Choosing the perfect peanut butter is key for making delicious gluten-free peanut butter cookies. Your choice affects the cookie’s texture, flavor, and quality.
Not all peanut butters are the same. Natural peanut butter has a pure taste with just peanuts and sometimes salt. Commercial peanut butters are smoother but may have added sugars and oils.
“The secret to amazing gluten-free peanut butter cookies lies in choosing the right peanut butter!” – Baking Experts
- Natural peanut butter: Pure flavor, less processed
- Smooth peanut butter: Creates softer, uniform cookies
- Crunchy peanut butter: Adds textural interest with peanut pieces
When baking gluten-free peanut butter cookies, always check labels. Make sure your peanut butter is certified gluten-free to avoid cross-contamination.
| Peanut Butter Type | Texture Impact | Flavor Profile |
|---|---|---|
| Natural | Slightly grainier | Intense peanut flavor |
| Commercial | Smooth and consistent | Sweeter, more processed |
| Crunchy | Chunky, varied texture | Rich, with peanut pieces |
If you have a peanut allergy, try almond or sunflower seed butter. These alternatives can keep the cookie’s texture while adding unique flavors.
Remember, the right peanut butter makes gluten-free peanut butter cookies truly special!
Step-by-Step Mixing Instructions
Making gluten-free peanut butter cookies is easy with the right mixing. These cookies come together fast with just a few steps. Let’s go through the mixing steps to make sure your cookies are perfect every time.
Combining Wet Ingredients
First, get your ingredients ready. Mix peanut butter and sugar in a big bowl. Make sure they’re smooth and consistent. Then, add a pasture-raised egg and some vanilla extract. Stir for about 3 minutes until it’s light and fluffy.
- Use room temperature ingredients for best results
- Cream peanut butter and sugar until well combined
- Add egg and vanilla, mixing thoroughly
Adding Dry Ingredients
When adding dry ingredients, mix gently. Slowly add gluten-free flour or almond flour. Don’t overmix to keep the cookies soft. Mix lightly to keep the dough tender.
Achieving the Perfect Dough Consistency
The dough should be firm but not crumbly. If it’s too wet, add almond flour. If too dry, add milk or egg. You want it to hold together but not be sticky.
“The secret to great cookies is in the mixing technique” – Baking Expert
Pro tip: Chill your dough for 45 minutes before baking. This stops them from spreading and enhances flavor.
Proper Dough Handling Techniques
Making the perfect chewy peanut butter cookies starts with how you handle the dough. It’s all about preparing and shaping the dough right for the best results.
- Use a cookie scoop or tablespoon for even sizes
- Roll dough into 1-inch balls for even baking
- Space dough balls 2 inches apart on parchment-lined baking sheets
- Chill the dough for at least 1 hour before baking
“The secret to perfect chewy peanut butter cookies is in the details of dough preparation.” – Professional Baker
Temperature is very important when handling dough. Make sure your butter and peanut butter are at room temperature. This makes the dough smooth and helps your cookies turn out tender and chewy.
| Dough Handling Step | Recommended Practice |
|---|---|
| Portion Size | 1 tablespoon per cookie |
| Dough Ball Size | 1-inch diameter |
| Chilling Time | Minimum 1 hour |
Pro tip: If your dough feels too dry, add a little water. Gently mix until it’s just right. This keeps your cookies chewy.
Remember, handling the dough gently is key. Take your time and follow these steps. You’ll make cookies that everyone will love!
Creating the Classic Cross-Hatch Pattern
Making perfect peanut butter treats is more than mixing ingredients. The iconic cross-hatch pattern turns simple cookies into a feast for the eyes. This design is not just for looks; it’s also key to baking.
Traditional Fork Method
To get the classic cross-hatch pattern, you need a simple yet precise method. A standard dinner fork is the best tool. It flattens the cookies and adds a nice texture.
- Select a clean, medium-sized fork
- Dip the fork in sugar to prevent sticking
- Gently press the fork into the cookie dough ball
- Create a crisscross pattern by pressing in two directions
Achieving the Perfect Press
The secret to a great cross-hatch pattern is in your pressing technique. Use gentle, consistent pressure for even flattening. Too hard can cause cracks, too soft won’t give you the look you want.
Pro tip: Rotate the fork slightly between presses to create a more detailed pattern on your cookies.
| Technique | Result |
|---|---|
| Light Pressure | Soft, slightly raised cookies |
| Medium Pressure | Classic cross-hatch pattern |
| Heavy Pressure | Flattened, potentially cracked cookies |
Remember, practice makes perfect when creating these delightful peanut butter treats! Each fork press not only makes a beautiful design but also ensures even baking and texture. It will wow your friends and family.
Baking Tips for Perfect Results
Making the perfect gluten free cookies needs precision and care. To get bakery-quality peanut butter cookies, learn key baking techniques. These techniques will make your homemade treats stand out.
Temperature and timing are key when baking gluten free cookies. Set your oven to 350°F for golden, tasty cookies. Even heat ensures cookies bake evenly, avoiding dry or burnt edges.
Essential Baking Strategies
- Chill the dough for at least one hour to enhance flavor and texture
- Use creamy peanut butter for softer cookies
- Form dough balls approximately one inch in diameter for consistent results
- Create a classic crisscross pattern with a fork to promote even baking
Pro tip: Watch your cookies closely during the final minutes of baking. Gluten free cookies can quickly transition from perfectly golden to overdone.
“Precision is the secret ingredient in creating exceptional gluten free cookies” – Baking Experts
Baking time is usually 14-16 minutes. Your cookies are done when edges are slightly golden and centers are tender. Let them rest on the baking sheet for 10 minutes after baking to set their shape.
Storage Recommendations
- Store in an airtight container
- Refrigerate for up to 5 days
- Freeze for extended preservation up to 1 month
By mastering these techniques, your gluten free cookies will go from good to amazing. You’ll get delicious results every time.
Optional Flavor Variations and Add-ins
Make your gluten-free peanut butter cookies even more exciting with these tasty variations. Healthy baking becomes more fun when you try new flavors and textures.
Chocolate Lovers’ Delight
Add chocolate to your gluten-free peanut butter cookies for a special treat. Here are some delicious ideas:
- Mix in semi-sweet chocolate chips directly into the dough
- Dip half of each baked cookie in melted dark chocolate
- Sprinkle cocoa nibs for an intense chocolate crunch
Texture Enhancement Techniques
Enhance your healthy baking recipes with different textures. Try these:
- Incorporate chopped roasted peanuts for extra crunch
- Sprinkle sea salt on top for a flavor contrast
- Mix in sunflower seeds for added nutrition
| Add-In | Nutritional Boost | Texture Impact |
|---|---|---|
| Chopped Peanuts | Protein +2g | Crunchy |
| Chocolate Chips | Antioxidants | Smooth |
| Sunflower Seeds | Vitamin E | Crispy |
“Creativity in baking turns simple recipes into memorable experiences!” – Gluten-Free Baking Expert
These variations keep your gluten-free peanut butter cookies delicious. They offer exciting flavors for everyone to enjoy.
Storage and Freezing Guidelines
Proper storage keeps your gluten-sensitive snacks fresh and tasty. Your homemade peanut butter cookies will stay delicious with the right storage.
For short-term storage, use an airtight container at room temperature. Gluten-free peanut butter cookies stay fresh for up to 5 days this way.
Room Temperature Storage Tips
- Use a container with a tight-sealing lid
- Place a sheet of parchment paper between cookie layers
- Store in a cool, dry place away from direct sunlight
Freezing is a great way to store cookies for longer. Properly frozen cookies can last up to 2 months without losing their delightful texture.
Freezing Guidelines
- Let cookies cool completely before freezing
- Wrap individual cookies in plastic wrap
- Place wrapped cookies in a freezer-safe container
- Label the container with the date
“Proper storage is the secret to enjoying gluten-free treats at their best!” – Baking Experts
When you’re ready to enjoy your frozen cookies, thaw them at room temperature for about 30 minutes. For the best taste and texture, eat within 24 hours of thawing.
Troubleshooting Common Issues
Baking gluten-free peanut butter cookies can be tricky. Knowing how to fix common problems will help you make perfect allergen-free desserts every time.
Texture Challenges in Allergen-Free Desserts
Getting the right cookie texture is key. If your cookies are too crumbly or dense, here are some quick fixes:
- Add 1/8 to 1/4 cup extra gluten-free flour if cookies spread too much
- Mix batter for less than one minute to prevent toughness
- Incorporate 2-4 tablespoons of milk to improve consistency
Baking Precision Matters
Oven temperature greatly affects your allergen-free desserts. An oven that’s not set right can be off by up to 25%. Use an oven thermometer to check if your oven is at the right temperature.
“Baking is a science, and precision is key to success” – Professional Baker
Smart Storage Solutions
Storing your gluten-free cookies right can make them last longer. Chilling cookie dough for at least 30 minutes before baking helps keep their shape better and prevents them from spreading too much.
| Issue | Solution |
|---|---|
| Crumbly Texture | Add extra liquid or binding agent |
| Excessive Spreading | Chill dough before baking |
| Uneven Baking | Rotate baking sheet midway |
By using these tips, you’ll become a pro at making delicious allergen-free desserts with ease and confidence.
Conclusion
Making gluten-free peanut butter cookies is more than a recipe. It’s a fun adventure in baking for everyone. You’ve learned how easy it is to make tasty treats for different diets by using almond flour and natural sweeteners.
Your gluten-free peanut butter cookies are a mix of good nutrition and great taste. They’re perfect for those with gluten sensitivity or anyone looking for a healthier cookie. You can use monk fruit sweetener or try different peanut butter textures to make each batch special.
Baking is all about exploring and trying new things. Your gluten-free cookies can fit into keto, paleo, or vegan diets and taste amazing. Start with a basic recipe and then get creative with flavors and ingredients. With time, you’ll become more confident in making delicious cookies for everyone.
Enjoy baking for everyone and share your gluten-free peanut butter cookies with your loved ones. Your baking journey is just starting, and there are many tasty adventures ahead.