Table of Contents
Every baker knows that magic happens when simple ingredients turn into something amazing. Brown butter blondies are a perfect example of this magic. They take comfort food to a whole new level of indulgence. My love for these treats started in my grandmother’s kitchen, where the smell of browning butter would pull me in.
These homemade blondies are more than a recipe; they’re a journey into rich, caramelized flavors. They balance sweet and complex tastes beautifully. Whether you’re an experienced baker or just starting out, this guide will help you make brown butter blondies that will become your favorite.
Imagine biting into a blondie with a crunchy outside and a soft, butterscotch-like inside. That’s what this guide promises. It turns simple ingredients into a dessert that everyone will love.
Key Takeaways
- Learn the science behind perfect brown butter techniques
- Understand the unique flavor profile of brown butter blondies
- Master professional baking tips and tricks
- Explore creative mix-in options and variations
- Troubleshoot common baking challenges
Understanding Brown Butter Blondies: A Delicious Twist on a Classic
Explore the world of brown butter blondies, where cooking meets sweet treats. This dessert turns simple baking into a flavor explosion. It will make your taste buds dance and improve your baking.
The Science Behind Brown Butter
Heating butter beyond its melting point is a science magic trick. The milk solids toast, creating a rich, nutty smell and golden color. This isn’t just about looks; it’s about unlocking flavors that make blondies stand out.
- Milk proteins caramelize and turn golden brown
- Nutty flavor compounds develop naturally
- Aroma intensifies with careful heating
Blondies vs Brownies: What Sets Them Apart
Blondies and brownies differ in their ingredients. Blondies use vanilla and brown butter, skipping chocolate. This gives them a butterscotch-like sweetness that’s unique compared to brownies.
The Magic of Caramelization
The caramelization process is key to brown butter blondies. Heat breaks down sugars, creating complex flavors. This turns your dessert into a flavor journey with each bite.
- Sugars break down at high temperatures
- Flavor complexity increases dramatically
- Golden-brown color indicates peak flavor
Essential Ingredients for Perfect Brown Butter Blondies
Making delicious brown butter blondies begins with the right ingredients. Your baking essentials are key to a treat that will wow everyone.
Quality butter is the heart of these desserts. Pick unsalted butter with high butterfat for rich flavors. Browning the butter adds a nutty, caramel taste that makes the recipe shine.
- Unsalted butter: 1 cup (best quality possible)
- Dark brown sugar: 1½ cups
- Large eggs: 2 room-temperature
- Pure vanilla extract: 2 teaspoons
- All-purpose flour: 2 cups
- Salt: ½ teaspoon
- Baking powder: 1 teaspoon
Choose high-quality ingredients for the best results. Fresh eggs, premium vanilla, and unbleached flour improve texture and taste.
Pro tip: Always measure ingredients precisely. Baking is a science. Accurate measurements lead to perfect brown butter blondies every time.
Kitchen Equipment You’ll Need for Success
More than just great ingredients are needed for brown butter blondies. The right kitchen equipment can make a big difference. It can turn your baking into a smooth and enjoyable process.
Having the right kitchen equipment is key to successful baking. Let’s look at the essential tools and optional gear that will boost your blondie-making skills.
Must-Have Baking Tools
- Sturdy mixing bowls (glass or stainless steel)
- Accurate measuring cups and spoons
- Reliable hand mixer or stand mixer
- Silicone spatula for scraping batter
- Wire cooling rack
- Digital kitchen scale for precise measurements
Optional but Helpful Equipment
- Bench scraper for easy dough handling
- Pastry brush for butter application
- Parchment paper sling for easy removal
- Offset spatula for smooth batter spreading
Proper Pan Selection
Choosing the right blondie pan is key for perfect texture and even baking. Consider these factors when picking your pan:
- 9×13 inch rectangular pan for standard recipes
- Square 8×8 inch pan for smaller batches
- Light-colored metal pans for most consistent results
- Non-stick surfaces or well-greased pans
Investing in quality kitchen equipment will greatly improve your blondie-making. The right tools make preparation easier and help you create delicious brown butter blondies. These will impress your family and friends.
Mastering the Brown Butter Making Process
Learning to brown butter, or make noisette, is a skill that changes your baking. It makes your treats go from good to great. The process might seem hard, but with practice, you’ll get it down fast.
First, pick the right pan. A light-colored skillet is best for seeing the butter’s color change. Cut your butter into equal pieces for even melting and browning.
- Use unsalted butter for precise control of flavor
- Choose a heavy-bottomed pan for consistent heat distribution
- Keep your heat at medium-low to prevent burning
The brown butter technique needs patience and focus. As the butter melts, it will foam, then clear, and lastly, turn golden brown at the bottom. These milk solids give your baked goods a rich, nutty flavor.
Pay attention to visual and smell cues during browning:
- Butter melts completely
- Foam develops on the surface
- Milk solids turn golden brown
- A distinct nutty smell emerges
When your butter is deep golden with amber specks, take it off the heat to avoid burning. Pour it into a heat-safe container and let it cool before using in your blondie recipe.
Step-by-Step Mixing and Preparation Techniques
Making the perfect blondie batter needs precision and care. The right mixing techniques can make your brown butter blondies amazing. Knowing how temperature and mixing methods affect your batter is key for the best texture and flavor.
Proper Ingredient Temperature Guidelines
Temperature is important for smooth blondie batter. Ingredients at room temperature mix better and give a consistent texture. Here are some temperature tips:
- Butter: Let brown butter cool to room temperature (about 70°F)
- Eggs: Remove from refrigerator 30 minutes before mixing
- Sugar: Keep at room temperature
Mixing Order and Methods
The order of adding ingredients matters a lot. Start by mixing brown butter with sugars until it’s light and fluffy. Then, add eggs one at a time, making sure each is fully mixed before adding the next.
| Ingredient Stage | Mixing Technique | Duration |
|---|---|---|
| Brown Butter & Sugar | Cream until light | 3-4 minutes |
| Adding Eggs | Mix individually | 1 minute each |
| Dry Ingredients | Fold gently | 30-45 seconds |
Batter Consistency Tips
Getting the right blondie batter consistency is an art. You want a smooth, glossy batter that falls slowly. Avoid overmixing, as it can make your blondies tough. The batter should be thick but pourable, with a ribbon-like quality when lifted.
- Proper consistency: Thick but spreadable
- Texture: Smooth and glossy
- Mixing sign: Ribbon effect when lifted
Baking Tips for the Perfect Texture
To get the perfect blondie texture, you need to be precise. The oven temperature is key for that chewy center and crisp edges. Most blondies bake best at 350°F, which helps with even heat and texture.
The baking time depends on your pan size and recipe. Usually, blondies take 20-25 minutes. Here are some tips for perfect results:
- Use a light-colored metal baking pan for most consistent heat
- Check doneness with the toothpick test
- Remove blondies when edges are golden but center is slightly soft
- Allow cooling in the pan for optimal texture development
Knowing your oven’s quirks can help you tweak baking time and temperature. An oven thermometer gives you accurate readings, so your blondies turn out right every time.
| Pan Type | Recommended Oven Temperature | Typical Baking Time |
|---|---|---|
| 8×8 inch glass pan | 350°F | 22-25 minutes |
| 9×13 inch metal pan | 350°F | 20-23 minutes |
| Individual ramekins | 375°F | 15-18 minutes |
Pro tip: Always let your blondies cool completely before cutting to maintain their signature texture and prevent crumbling.
Creative Mix-in Options and Variations
Make your brown butter blondies stand out with creative mix-ins. These ideas can turn a simple dessert into a masterpiece. You can customize your blondies to excite your taste buds.
Trying different mix-ins lets you make your blondies your own. It keeps the recipe fresh and exciting. The goal is to mix flavors and textures for a dessert you’ll remember.
Classic Add-ins
Begin with mix-in favorites that go well with brown butter:
- Chocolate chips (milk, dark, or white)
- Chopped nuts like pecans or walnuts
- Dried fruit such as cranberries or cherries
- Caramel chunks
- Butterscotch chips
Seasonal Variations
Change your blondies with the seasons using these ideas:
- Fall: Pumpkin spice and pepita seeds
- Summer: Fresh berries and lemon zest
- Winter: Peppermint chips and crushed candy canes
- Spring: Lavender and white chocolate
Dietary Alternatives
For different diets, try these options:
- Gluten-free flour blends
- Vegan butter substitutes
- Sugar-free chocolate chips
- Nut-free seed options
The best blondies are those that show your taste and creativity. Feel free to try new mix-ins!
Storage and Serving Recommendations

Keeping your brown butter blondies fresh is key. You want to enjoy them for days after baking. The right storage keeps them delicious.
Room Temperature Storage
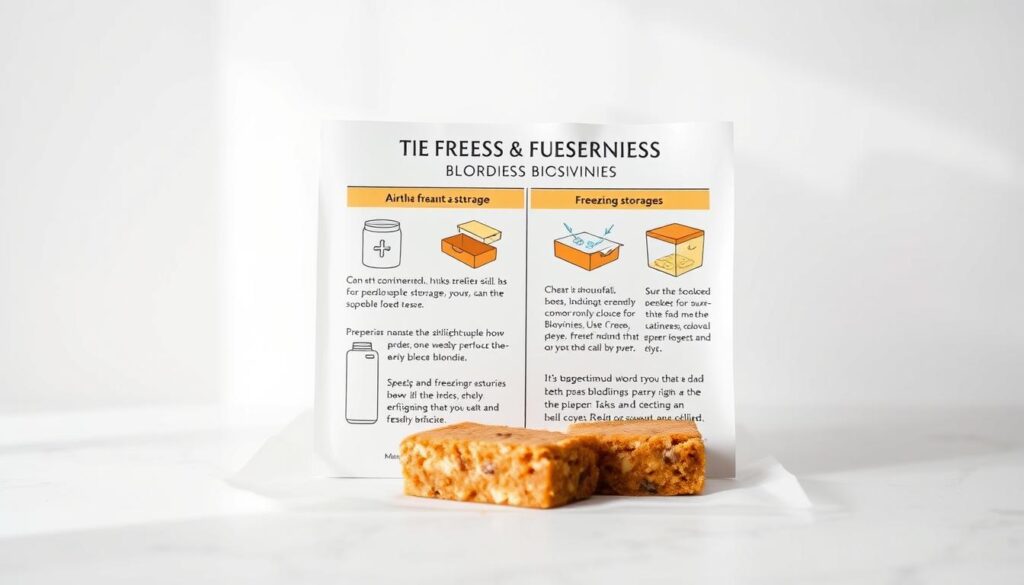
For short-term, store blondies in an airtight container at room temperature. They stay soft and flavorful for 3-4 days. Use parchment paper between layers to avoid sticking and keep them fresh.
Refrigeration and Freezing Options
Refrigeration is great for longer storage. Wrap blondies tightly in plastic wrap or foil. They stay tasty for up to a week in the fridge.
Serving Suggestions
- Warm blondies slightly in the microwave for 10-15 seconds
- Pair with vanilla ice cream for a decadent dessert
- Drizzle with caramel or chocolate sauce
- Serve with a cold glass of milk
Freezing Recommendations
| Storage Method | Duration | Quality Preservation |
|---|---|---|
| Wrapped individually | Up to 3 months | Excellent |
| Whole pan | Up to 2 months | Very Good |
Freezing is perfect for long-term storage. Wrap blondies in plastic wrap, then in a freezer-safe container. Thaw at room temperature for the best taste and texture.
Pro tip: Always let blondies cool completely before storing. This prevents moisture and keeps them perfect.
Troubleshooting Common Baking Issues
Baking brown butter blondies can be tricky, but don’t worry. With some key insights into blondie troubleshooting, you’ll be able to solve most baking problems that come your way. Understanding the challenges will help you create perfect blondies every single time.
When encountering texture fixes, start by identifying the specific issue. Dry blondies often result from overbaking or using too much flour. To prevent this, measure ingredients precisely and watch your baking time carefully. An instant-read thermometer can help you check doneness without overdrying the blondies.
Texture Problems and Solutions
Gummy blondies typically indicate excess moisture or underbaking. Ensure your brown butter is properly cooled and ingredients are at the right temperature. Check your oven calibration with an oven thermometer to verify accurate heat distribution. Cooling blondies completely on a wire rack helps set the texture and prevents soggy bottoms.
Temperature-Related Issues
Uneven baking can frustrate even experienced bakers. Rotate your baking pan halfway through cooking to promote consistent heat distribution. Use light-colored metal pans that conduct heat evenly. If your blondies consistently bake unevenly, consider investing in an oven with more reliable temperature control.
Ingredient Substitution Guidelines
Successful baking problems resolution involves smart ingredient swaps. When substituting ingredients, maintain similar moisture and fat content. For example, replace all-purpose flour with gluten-free alternatives that have comparable protein levels. Always test small batches when experimenting with new ingredient combinations to ensure the best results.

