
Table of Contents
Ever craved that perfect side dish that makes a meal special? Welcome to Cheesy Garlic Breadsticks, where your kitchen turns into a gourmet bakery. Every bite is a story of delicious flavors and family memories.
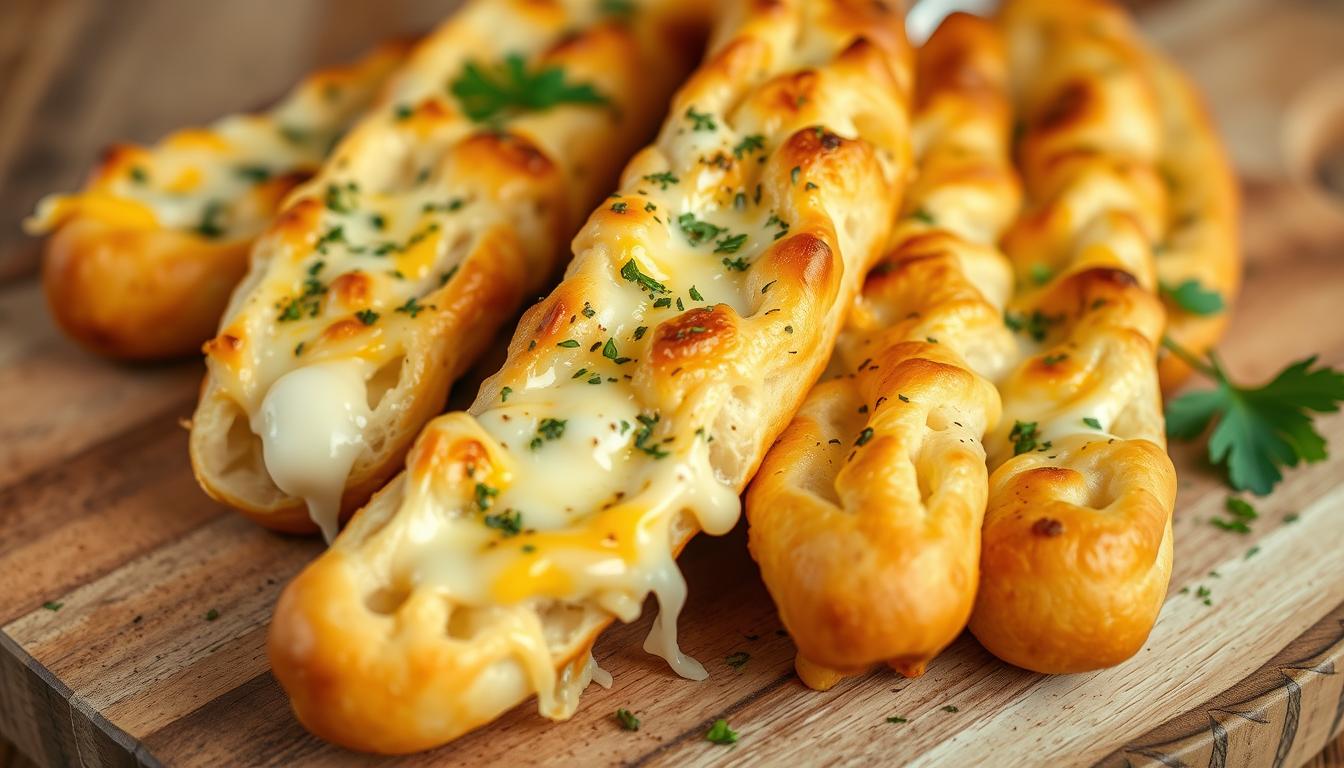
Making your own easy side dish means no more bland store-bought options. Imagine pulling warm, golden Cheesy Garlic Breadsticks from the oven. Their aroma fills your kitchen with comfort and excitement. These aren’t just breadsticks; they’re a culinary adventure in your own home.
Whether you’re a seasoned home cook or new to the kitchen, making delicious homemade breadsticks is easy. With a few key ingredients and passion, you’ll create cheesy garlic bread that everyone will love. They’ll ask for seconds for sure.
Key Takeaways
- Homemade breadsticks offer superior flavor and customization
- Creating cheesy garlic breadsticks is easier than you expect
- Fresh ingredients make a significant taste difference
- Breadsticks can elevate any meal from ordinary to extraordinary
- Cooking together creates lasting family memories
Essential Ingredients and Kitchen Tools for Perfect Breadsticks
Making delicious cheesy garlic breadsticks needs the right ingredients and tools. Whether you’re new to baking or experienced, the right tools can greatly help. They make the bread making process easier and improve your results.
Before starting your Cheesy Garlic Breadsticks journey, get the essential kitchen tools. These tools make preparation simpler and enhance your final product’s quality.
Must-Have Baking Tools
- Large mixing bowl with sturdy construction
- Accurate measuring cups and spoons
- Baking sheet with non-stick surface
- Silicone spatula for easy mixing
- Kitchen scale for precise ingredient measurements
Optional Equipment for Professional Results
While not essential, some tools can take your breadsticks to the next level. A stand mixer with a dough hook attachment can save time and ensure consistent dough.
- Stand mixer with dough hook
- Pastry brush for egg wash
- Dough scraper
- Proofing basket
- Digital thermometer
Mixing and Kneading Equipment
Kneading is key for developing gluten and achieving the right breadstick texture. You can choose from traditional hand kneading to using modern appliances.
- Hand kneading: Great for developing technique
- Food processor with dough blade
- Bread machine with dough setting
- Stand mixer with dedicated dough hook
Invest in quality baking ingredients and tools for perfect cheesy garlic breadsticks every time.
Step-by-Step Dough Preparation Guide
Making the perfect bread dough is all about patience and precision. It’s the first step to making delicious cheesy garlic breadsticks. You’ll learn the kneading techniques that turn simple ingredients into a culinary masterpiece.
Start by carefully gathering your ingredients. Measuring them accurately is key to a successful dough. Use a digital kitchen scale for flour, yeast, and other ingredients. Warm water is essential for yeast activation, aiming for 105-110°F for the best rising conditions.
- Measure ingredients precisely
- Use room temperature ingredients
- Select high-quality bread flour
- Activate yeast in warm water
Kneading is the heart of bread making. Begin by mixing until you get a shaggy dough. Then, work the dough on a clean surface. Push with the heel of your hand, fold, and turn. Do this for 8-10 minutes until it’s smooth and elastic.
For the perfect texture, follow these rising tips. Put your kneaded dough in a lightly oiled bowl. Cover it with a damp cloth and let it rise in a warm, draft-free spot. Aim for 80-85°F for the best rising. Let it double in size, which can take 1-2 hours, depending on your recipe.
- Choose a warm location for rising
- Cover dough to prevent drying
- Check volume increase
- Avoid drafty areas
Professional bakers know that patience is key. With practice, you’ll master the skills to make restaurant-quality cheesy garlic breadsticks at home.
Mastering the Art of Cheesy Garlic Breadsticks
Making the perfect cheesy garlic breadsticks is all about choosing the right ingredients and techniques. You’ll turn simple dough into a delicious appetizer that wows everyone.
The success of your breadsticks comes down to three things: cheese, garlic, and seasonings. Each one is key to creating rich, complex flavors that will make your breadsticks stand out.
Selecting the Best Cheese for Breadsticks
When picking cheese for breadsticks, look for types that melt well and taste great. Here are some top picks:
- Mozzarella for its stretchy texture
- Parmesan for a sharp, nutty taste
- Cheddar for bold, tangy flavors
- Provolone for a creamy, mild taste
Garlic Preparation Techniques
How you prepare garlic can really change the taste of your breadsticks. Try these methods to boost your dish:
- Fresh minced garlic for a strong flavor
- Roasted garlic for a sweet, mellow taste
- Garlic powder for consistent seasoning
- Garlic paste for even distribution
Crafting Perfect Seasoning Blends
Your seasoning blend can turn simple breadsticks into a culinary masterpiece. Mix in:
- Dried herbs like oregano and basil
- Red pepper flakes for a kick
- Cracked black pepper
- Sea salt for extra flavor
By trying out different cheeses, garlic methods, and seasonings, you’ll make breadsticks that impress everyone.
Baking Temperature and Timing Secrets
To make the perfect cheesy garlic breadsticks, you need to get your baking temperature and time right. The heat of your oven is key to getting those golden brown crust edges. These edges make the breadsticks so tasty.

The best temperature for baking breadsticks is between 375°F and 425°F. This range helps you get a crispy outside and a soft inside. Knowing when to take your breadsticks out of the oven is very important.
- Preheat your oven for at least 15 minutes before baking
- Use a middle rack for even heat distribution
- Rotate the baking sheet halfway through cooking
Getting the temperature right is important. For thicker breadsticks, use a lower temperature of about 375°F. This ensures they cook well without burning. For thinner, crisper breadsticks, use a higher temperature of around 425°F. This helps them get a beautiful golden brown crust faster.
| Breadstick Type | Recommended Temperature | Baking Time |
|---|---|---|
| Thin Crispy | 425°F | 8-10 minutes |
| Thick Soft | 375°F | 12-15 minutes |
Pro tip: Always keep an eye on your breadsticks in the last few minutes of baking. A perfectly golden brown crust can quickly become burnt if you’re not careful.
Storage, Reheating, and Freezing Tips
Learning how to store, reheat, and freeze your homemade cheesy garlic breadsticks is key. This way, you can enjoy them for days or even weeks. The right storage methods will keep their taste and texture perfect.
Storing breadsticks right is important to keep them fresh. Here are some tips to help:
- Cool breadsticks completely before storing
- Use an airtight container to prevent moisture
- Store at room temperature for up to 2 days
- Wrap individually in plastic wrap for best preservation
Optimal Preservation Techniques
Reheating bread can be tricky, but the right method brings back that fresh taste. Here are the best reheating ways:
- Oven method: Preheat to 350°F and wrap breadsticks in aluminum foil
- Toaster oven: Place directly on the rack for crispy edges
- Microwave: Use only as a last resort, and heat in short 10-second bursts
Freezing Homemade Bread
Freezing homemade bread keeps it fresh longer and is great for meal prep. Here’s how to freeze it right:
- Wrap breadsticks tightly in plastic wrap
- Place in a freezer-safe bag or container
- Remove excess air to prevent freezer burn
- Freeze for up to 3 months
When you’re ready to eat, thaw breadsticks at room temperature. Then, reheat them your favorite way. With these tips, you’ll always have tasty cheesy garlic breadsticks ready!
Common Mistakes to Avoid
Baking errors can quickly ruin your cheesy garlic breadsticks. Knowing common dough problems helps make perfect breadsticks every time.
Yeast handling and dough preparation are often the main issues. Your yeast must be fresh and activated right. Old or stored wrong yeast can stop dough from rising, making breadsticks dense and flat.
- Avoid using cold ingredients that can shock the yeast
- Check yeast expiration dates before starting
- Ensure water temperature is between 100-110°F for optimal activation
Kneading is key to bread quality. Too much or too little kneading can make breadsticks tough or crumbly. You want dough that’s smooth and elastic, bouncing back when pressed.
- Knead dough until it becomes smooth and elastic
- Let dough rise in a warm, draft-free environment
- Watch for proper doubling of dough volume during rising
Temperature control is also vital. Wrong baking temperatures can cause undercooked centers or burnt outsides. Use an oven thermometer for accurate heat, ensuring golden breadsticks.
Serving Suggestions and Dipping Sauces
Turn your cheesy garlic breadsticks into a feast with the right dips. Choosing the perfect sauce can make your meal unforgettable and taste amazing.
The secret to great breadsticks is in what you serve with them. Try these tasty dips to enhance your garlic breadsticks.
Classic Marinara Sauce
Every Italian dish needs a good marinara sauce. It adds a burst of tomato flavor that matches the cheesy breadsticks perfectly.
- Use ripe San Marzano tomatoes for authentic taste
- Fresh basil adds a bright, herbal note
- Simmer sauce slowly to develop deep flavors
Creamy Garlic Dip
If you love garlic, this creamy dip is for you. It’s smooth and rich, making the garlic in your breadsticks even more enjoyable.
- Blend roasted garlic for deeper complexity
- Use Greek yogurt for a tangy, protein-rich base
- Add fresh chives for a subtle onion undertone
Ranch Dipping Options
Ranch dressing is a cool, herby match for warm breadsticks. Make your own to beat store-bought versions.
- Use fresh herbs like dill and parsley
- Mix buttermilk for authentic tanginess
- Adjust seasoning to personal preference
Try these marinara and garlic dip recipes to find your favorite. Your guests will love the tasty pairings you offer.
Variations and Dietary Modifications
Exploring gluten-free breadsticks opens up delicious possibilities for those with dietary restrictions. You can swap traditional wheat flour with almond flour, coconut flour, or gluten-free blend mixes. This creates a delectable alternative that keeps the crispy texture and savory flavor of classic garlic breadsticks.
Vegan cheese alternatives have changed dairy-free cooking. Brands like Daiya, Violife, and Follow Your Heart offer remarkable plant-based cheese options. These melt beautifully and provide rich, creamy tastes. When preparing your breadsticks, experiment with these substitutes to craft a vegan-friendly version that doesn’t compromise on taste or texture.
Low-carb options are perfect for health-conscious bread lovers. Consider using cauliflower-based doughs, almond flour foundations, or even zucchini-infused recipes to reduce carbohydrate content. These alternatives allow you to enjoy the essence of cheesy garlic breadsticks while maintaining your nutritional goals.
For those seeking flavor innovation, try incorporating fresh herbs like rosemary, thyme, or basil into your dough. Experimenting with different cheese blends such as aged parmesan, smoked gouda, or sharp cheddar can transform your breadsticks into a gourmet experience. This suits various dietary needs and taste preferences.